

MERRY CHRISTMAS GREETINGS & GIFTS
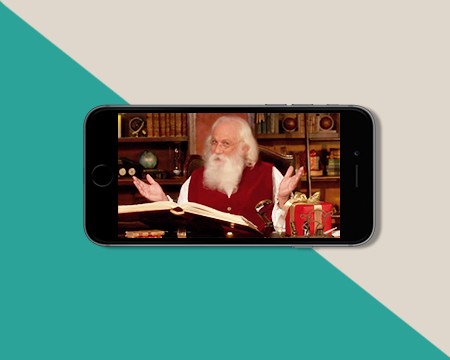
Christmas Ecards


Christmas Creatacards


BROWSE DIGITAL CHRISTMAS CARDS
Choose from our assortment of Christmas and holiday greetings, and then share the perfect Merry Christmas card with the special people in your life! It’s quick and easy to customize greetings and send warm and cozy holiday cards from the comfort of your home.
Christmas Ecards
Share the merry! The happiest time of year starts now when you create Christmas ecards online!

Christmas Creatacards
Create holiday magic with Merry Christmas wishes for special family and friends!
Merry Christmas Ecards
Shop personalized, interactive and animated Christmas and holiday greetings! Christmas ecards are easy to send to everyone on your list!

Funny Christmas Ecards
Share hilarious holiday greetings with funny Christmas cards that sing, animate and bring magic!
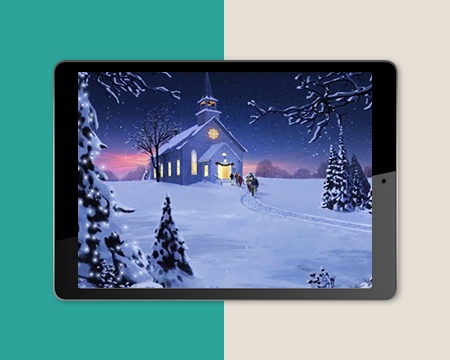
Religious Christmas Ecards
Send religious Christmas e-cards and share the season’s blessings with everyone!

